Tutorial: Integrating Veeam with Dell EMC PowerProtect DD (Data Domain)
One of the reasons why so many people use Data Domain is because of its strong deduplication capabilities. If you have Data Domains at different sites, you’re probably also enjoying its native replication feature, which uses a minimal amount of bandwidth and can support several different replication topologies.
Data Domain integrates pretty seamlessly with most backup applications. Pairing it with Veeam on the front end provides for a solid, easy to manage backup solution.
Within Veeam, there’s a feature called “Backup Copy” that allows you to replicate your backup files between repositories in a very straightforward manner. This is most useful when you have a remote site where you want backups to be stored as part of your DR strategy.
The unfortunate part of Backup Copy is that it doesn’t leverage the DD APIs for Managed File Replication. So, if you’re using Data Domain repositories, you’re unable to easily empower Veeam to orchestrate the native replication between your Data Domains.
As a result, Veeam loses out on a couple of benefits that come with MFR:
- Efficient, hardware-level replication
- Backup server indexing of the multiple storage locations for each backup file that is replicated
Some Veeam users have experienced frustration with the performance of Backup Copies on Data Domain, as the data is rehydrated (or reduplicated), then all blocks are sent over the LAN/WAN to the second DD before getting deduped again. Not efficient.
Here are some easy steps to work around this issue. This guide assumes you have some basic working knowledge of both the Veeam Backup and Replication (VBR) console and Data Domain System Manager (DDSM).
If you’ve already got a DD repository setup in Veeam, feel free to skip ahead to step 12.
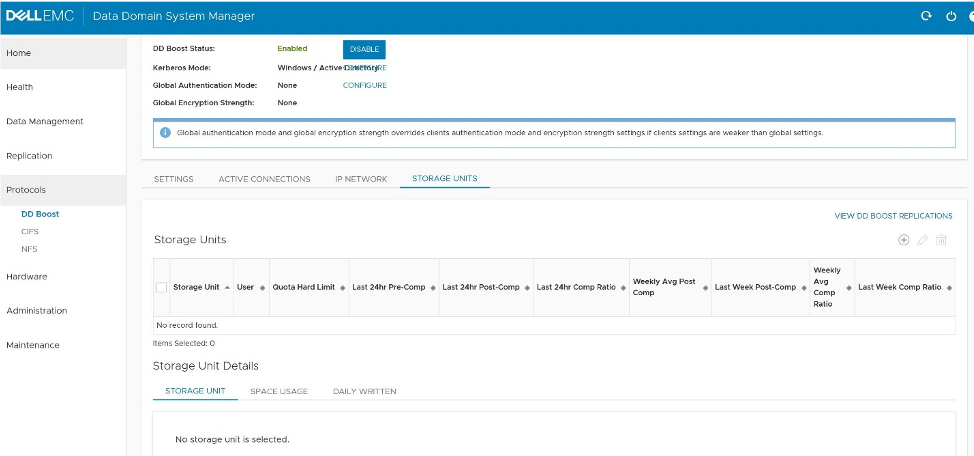
- Log into DDSM on the DD system you intend to use as the “source.” You’ll need to make sure that DDBoost is enabled, and that you have a DDBoost user/password created.
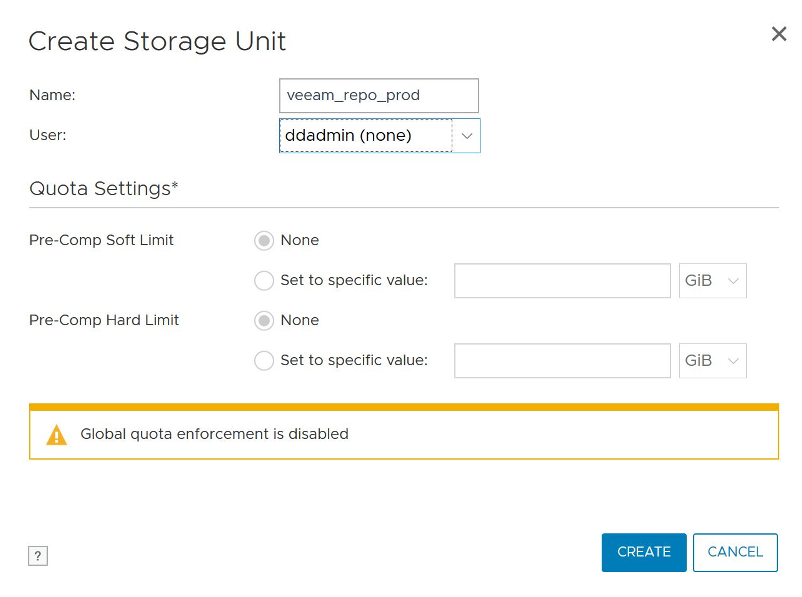
- Create a new DDBoost storage unit. This will be mounted by Veeam once we create a new repository. In this example, I’ve named the storage unit “veeam_repo_prod”.
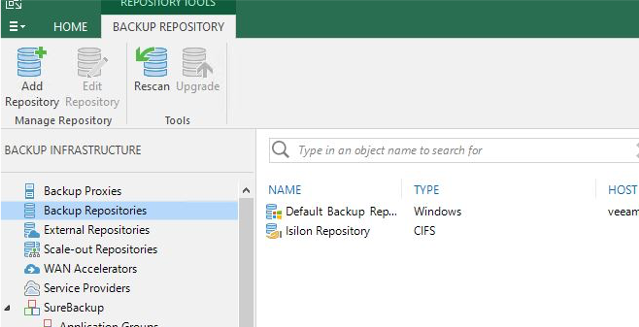
- In the VBR console, add a new backup repository.
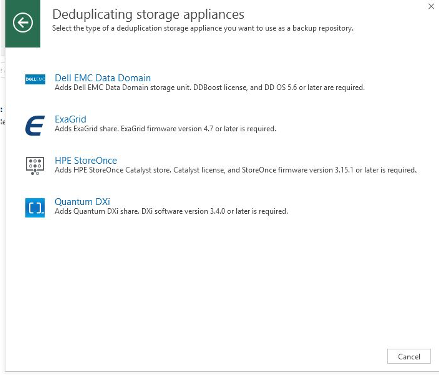
- Here, we’ll want to select “Duplicating storage appliance”

- Select Data Domain
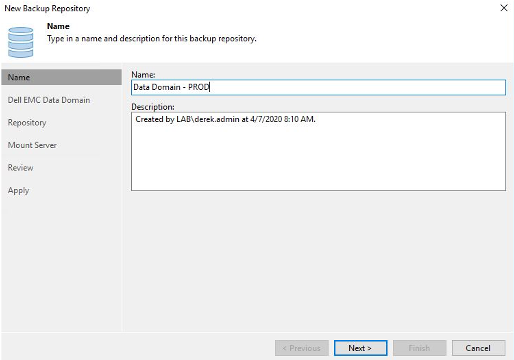
- Name your new repository
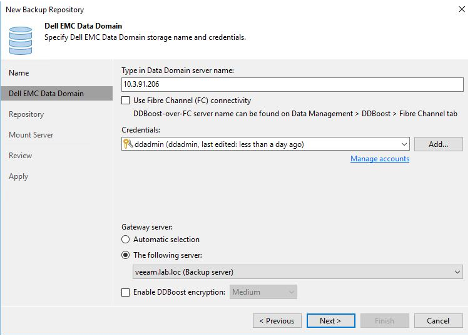
- Type in the IP address or hostname of your Data Domain. On this screen, you can also opt to use DDBoost over FC, and choose to enable encryption if you’d like. You will need to add the DDBoost user credentials as well:
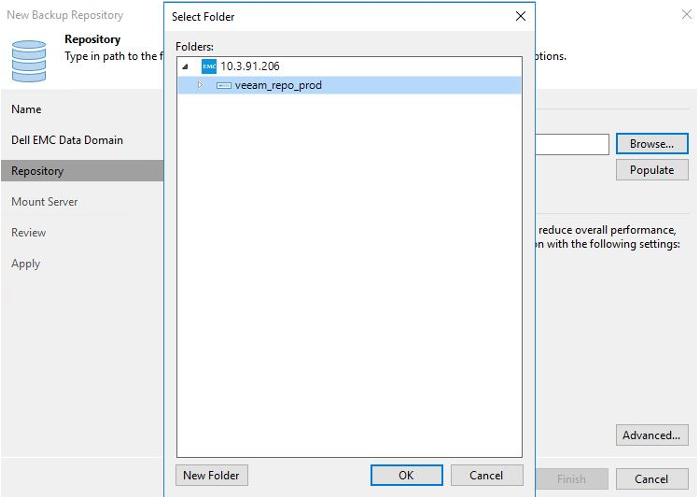
- On the next screen, click “Browse” and select the DD storage unit you previously created:
- Once the SU location is populated, click Next. Select the Mount server you want to use.
- Click Next, Review.
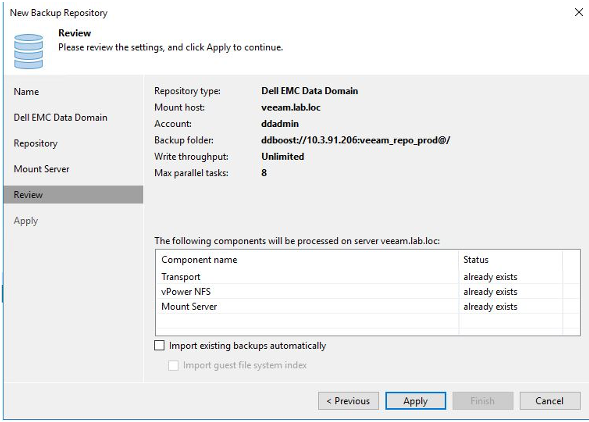
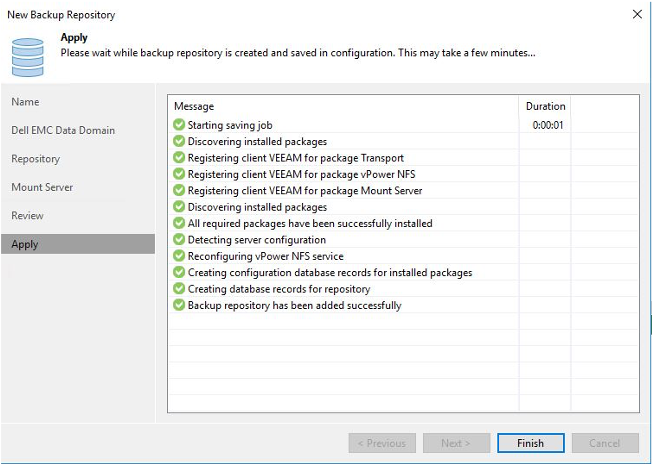
- Once you click Apply, the repository will be created.
The next few steps assume you’ve already been running Backup Jobs in Veeam to the DD repository for some time. We will setup DD replication for the Veeam storage unit/mtree. - Log onto DDSM on the target DD and create a new DDBoost Storage Unit. Take note of the name for future reference – mine is “veeam_repo_dr”.
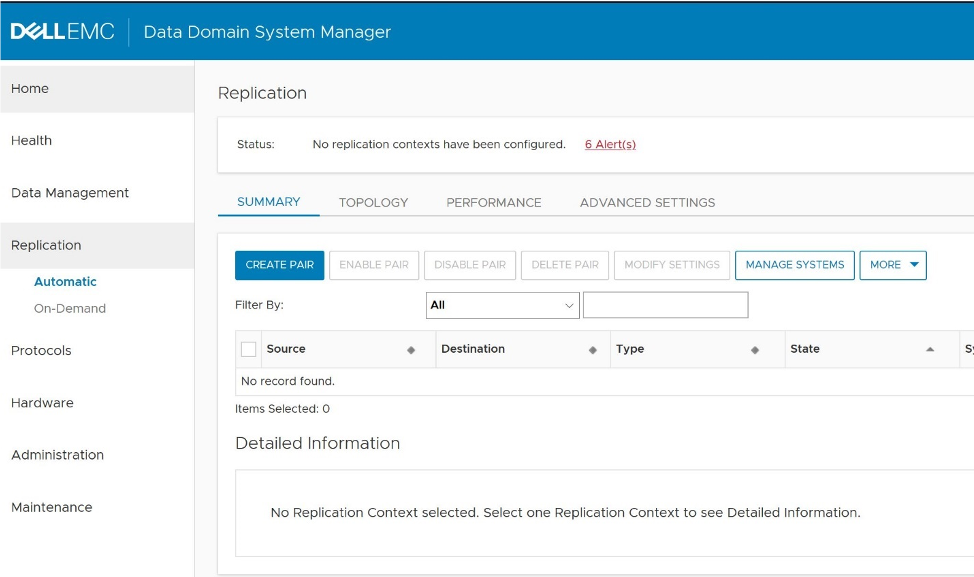
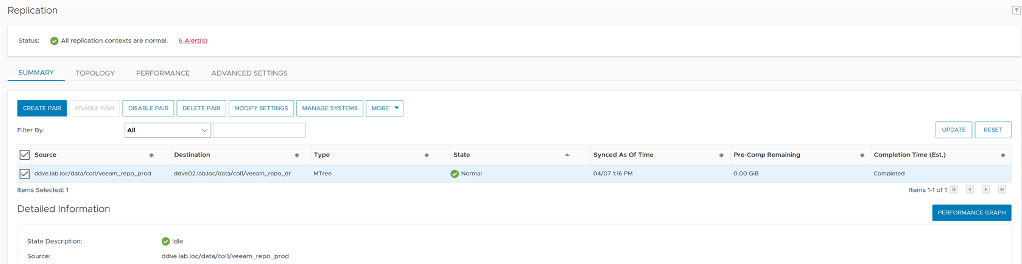
- Going back to DDSM, navigate to Replication, and then “Create Pair” to establish a new replication context between the source and target DD.
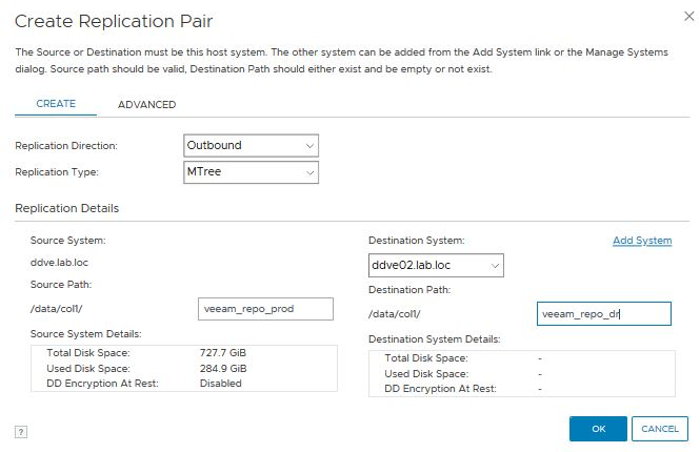
- Select the source mtree (Veeam storage unit) and enter the name of the storage unit you just created – this will be the destination mtree.
- Click OK – the wizard will execute the required steps on both the source/destination systems.
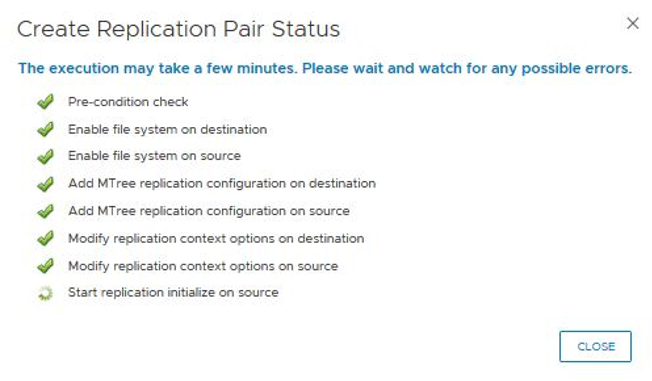
- Monitor the replication status for completion…this could take a considerable amount of time for the initial sync, depending on how much data is contained within the mtree:
- There is one more task we need to perform on the target DD. Log onto it via SSH and run the following command: ddboost storage-unit modify MTREE_NAME user DDBOOST_USER
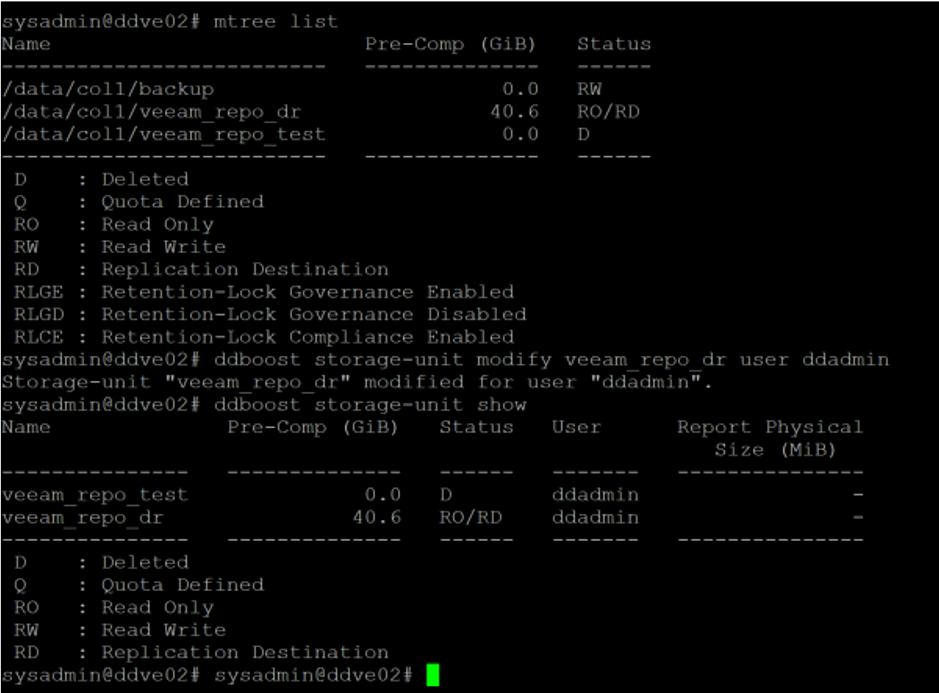
Where “MTREE_NAME” is the name of the replicated mtree, and DDBOOST_USER is the name of the DDBoost user account. In the screenshot below, you’ll notice I ran a couple of extra commands to list the mtrees (mtree list) and storage units (ddboost storage-unit show) to confirm that the modification worked. - Now, we will add the target DD as an additional repository. You’ll follow most of the same steps as you did for the first repository. One difference here is the storage unit – we need to browse for the one that was created by the replication pairing in step 13:
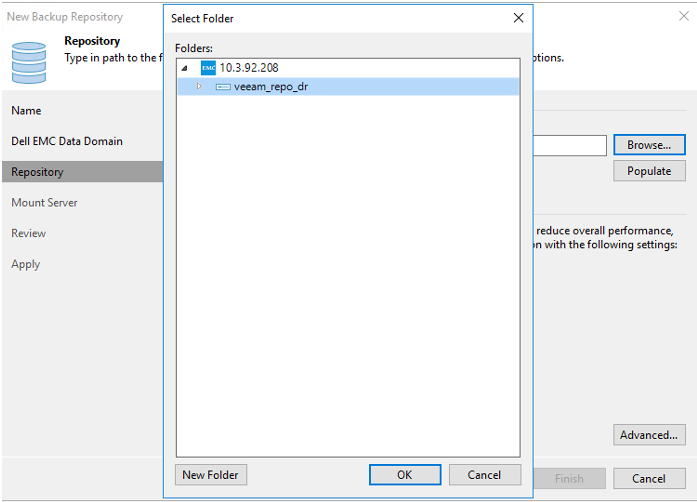
- Also, this time we want to check “Import existing backups automatically”
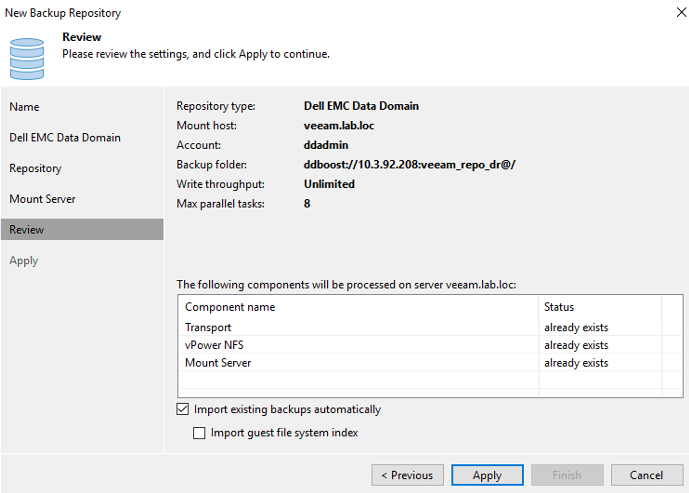
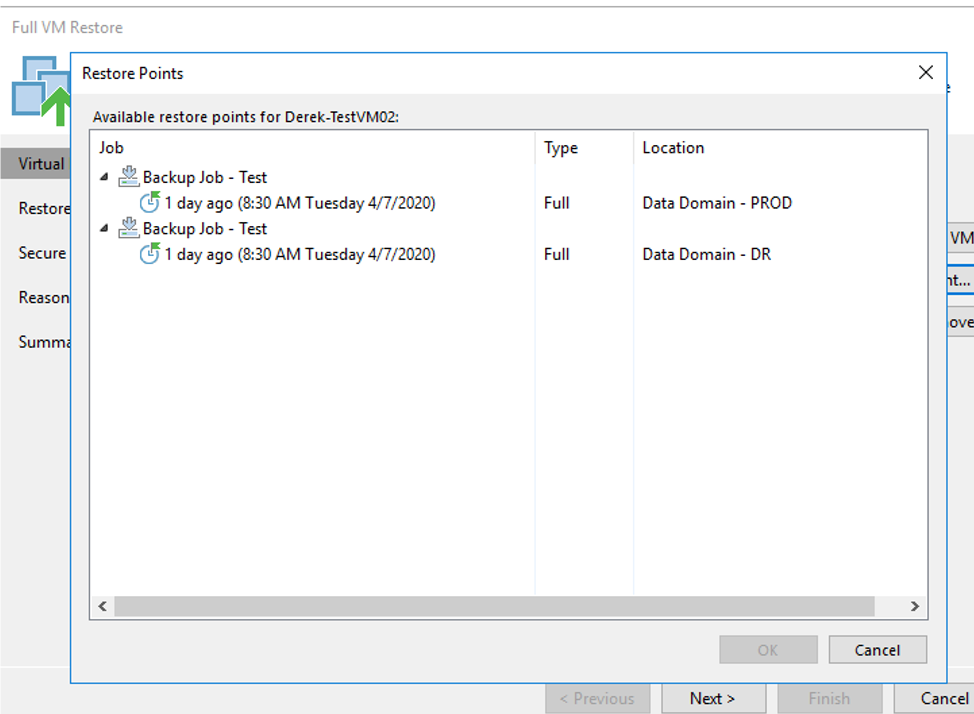
- Once the backup repository has been added, Veeam will import the replicated backup files from the target DD. We can confirm by performing a restore – you’ll see the same restore points available on both repositories:
That’s all there is to it! If you have a more complex replication topology, such as many-to-one or cascaded, you can still use these steps to setup all of your Data Domains as backup repositories.