A closer look at Dell PowerProtect Data Manager (Part 1)
PowerProtect Data Manager (PPDM) is Dell's next-gen data protection application. Upon its release in 2019, it also served as a management interface for the all-new X400 appliance. However, the X400 had some limitations and ultimately Dell removed it from their DPS portfolio.
PPDM works just as well as a standalone application, if not better. It is constantly evolving and new features are being added on a regular basis. With that in mind, I'm going to illustrate the process for deploying PPDM along with its capabilities.
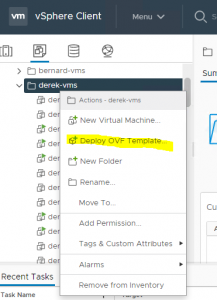
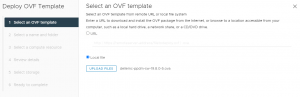
- The first step is to download the OVA file, which you can get from Dell's support site. In vCenter, deploy the OVA:
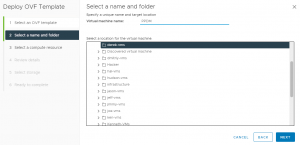
2. Next, create a name for the VM and select its location:
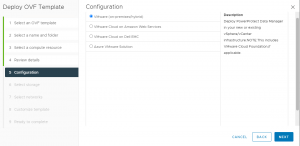
3. After selecting your compute resource, you'll need to choose a deployment option. In this case, we're deploying in an on-prem VMware infrastructure. There are also choices for VMware Cloud and Azure, if applicable to your environment.
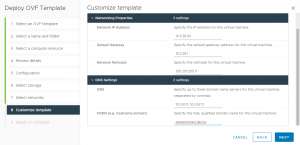
5. After selecting the storage, you'll need to configure the static network settings:
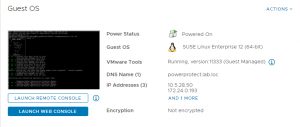
6.Click Finish and wait for the template to fully deploy. Once completed, power on the VM. It should boot with the hostname and IP address that was assigned during the initial OVF configuration.
7. Open a web browser and navigate to http://hostname or http://ip_address and launch the setup page:
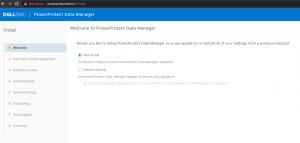
Here, you'll want to go with the "New Install" option. As a side note, the "Restore Backup" option is used in scenarios where your PPDM instance has crashed and you need to restore it. This is the approach for handling a DR event. In the PPDM world, there is no "DR backup server" consuming resources unless/until you actually need it.
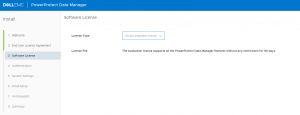
8. Next, accept the EULA. You'll then be prompted to start a 90-day evaluation license, or you can upload a permanent license if you have one.
9. Create a password for authenticating to the PPDM interface:

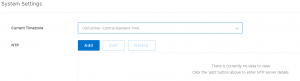
10. Select your time zone and add NTP server info, which is optional.
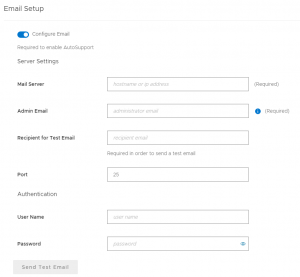
11. The following page is Email Setup, which is optional. This is useful if you want to enable autosupport emails to be sent out to your organization and/or Dell support.
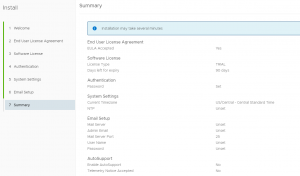
12.Validate the configuration on the Summary page:
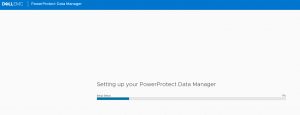
13. Click Done and the deployment process will begin:
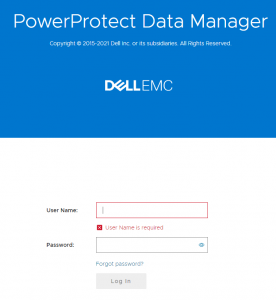
14. Once the deployment is completed, the login page will appear.
In the next blog, we'll login and continue the PPDM configuration process, which will include Data Domain integration and setting up agents.