Step-by-Step: Installing Dell EMC VxRail
1. Accept the end user agreement
2. System will scan for the nodes available to configure (check the confirm nodes box)
3. Select Option A (step by step installation) or Option B (config file - JSON)
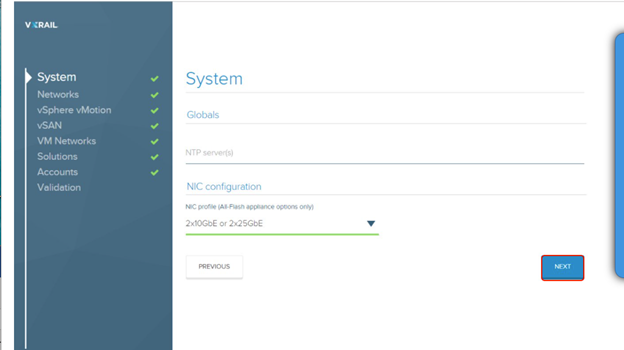
4. For networks, select Domain... enter ESXi hostnames and IP Addresses (make the IP Address range large enough for future expansion)
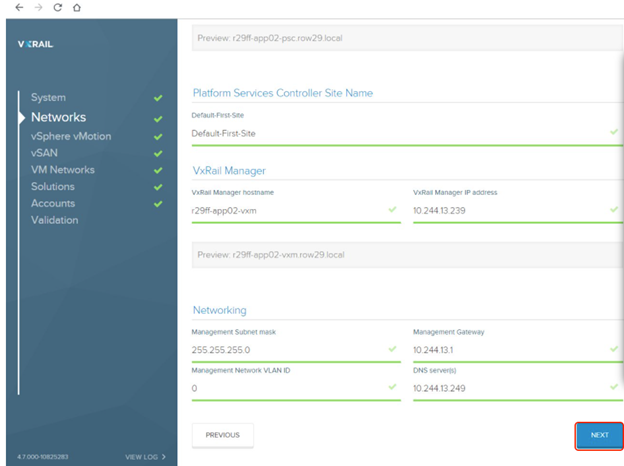
5. Next, select vCenter, PSC, and VxRail Manager are configured... you can join existing vCenter by checking a box at the top of the screen, if you'd like.
6. vMotion IP address pool (different subnet) needs a range so the IP for each node (subnet mask and vlan)
7. Add a name and VLAN ID for the host VM's network
8. On the solutions screen, you can select where to log. This will depend on if you are using an internal vCenter or an external vCenter
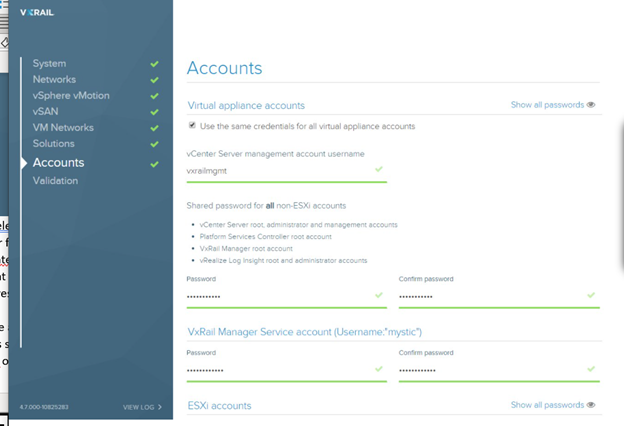
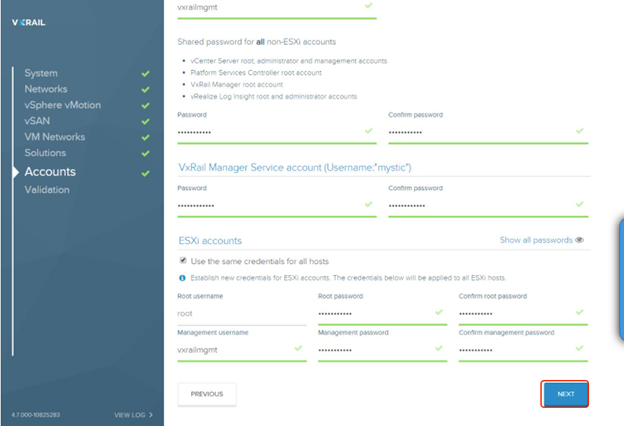
9. Accounts page below
10. The last step is to click Validate and Review
11. If all is successful, you can then download the JSON file
12. Next, click Build VxRail