Microsoft ADCS Secure Access Gateway with Citrix ADC
There are many components involved in running a certificate-based network. Trusted Corporate Devices need to establish trusted servers and certificate authorities (CA) to ensure proper certificates enrollment, users’ authentication, certificate life cycle and management to name a few.
Organizations running on Microsoft environments can use Microsoft CA to leverage Active Directory and Microsoft Certificate Services to distribute certificates to all domain-connected devices via group policies. Active Directory Certificate Services (AD CS) is a Windows Server designed to issue and manage digital certificates proven to be more secure and easier to use than passwords.
Organization implementing a Secure Access Gateway commonly used a third-party Authority Service Provider Certificate from a public authority like DigiCert, Comodo, GoDaddy etc. resulting in additional operational costs; especially when implementing Secure Access Gateway Protocol as a Proof of Concept.
Utilize Microsoft Active Directly Certificate Services (ADCS), commonly deployed in most Small and Medium Businesses (SMB) is best for this scenario.
The configuration steps per demonstrated assume ADCS already deployed with Citrix StoreFront Servers and Citrix ADC (NetScaler) VPX, MDX, SDX etc. in the environment.
For ease of implementation, the steps per illustrated divided into several sections as follow:
- Server Certificate Request
- Server Certificate Exports
- Root Certificate Export
- Internal Root CA Export & Download
- Root CA Certificate Installation - StoreFront Servers
- Server Wildcard Certificates Installation - StoreFront Servers
- Internal Server Certificate Installation - StoreFront Servers
- Load Balancer (Citrix ADC) Server Certificate Upload & Install
- Load Balancer (Citrix ADC) MSCA CA Root Certificate Installation
- Load Balancer (Citrix ADC) Server Certificate Link
Section 1: Steps to create Certificate Request from StoreFront (Web) Server
Open Internet Information Services (IIS) Manager from the StoreFront Server.
Select the Server name from the left pane under “Connections” section. In my case, it is “CTX715STF-01”. From the right pane, under “IIS” section, select “Server Certificates” to start the Certificate creation process.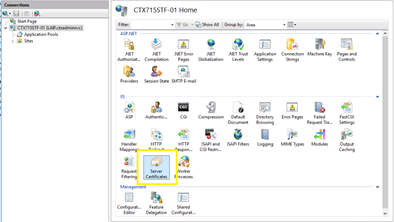
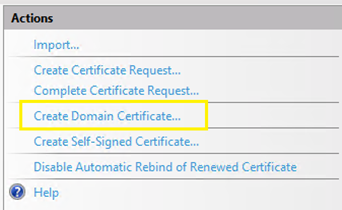
From the right pane, select “Create Domain Certificate” to continue.
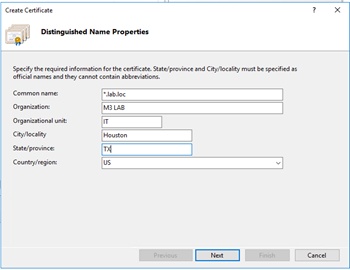
The “Distinguished Name Properties” screen displayed, enter appliable information per required. In the “Common Name:” field, enter a FQDN name with “*.” to be used as a wildcard; for example, in my case it is “*.lab.loc”. Select the “Next” button to continue.
The “Online Certificate Authority” screen displayed with option to select 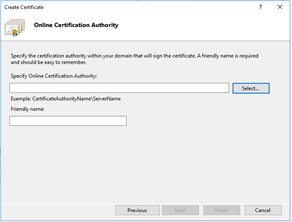 the Internal Microsoft Certificate Authority Sever (ADCS). Click on the “Select…” button to continue.
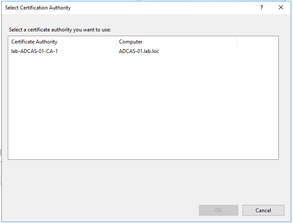 The “Select Certification Authority” screen displayed. Pick the appropriate Microsoft CA for the environment and select the “OK” button to continue.
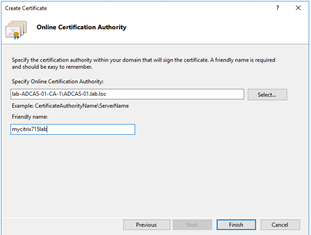
Once again, the “Online Certificate Authority” screen displayed, be sure to enter the “Friendly Name” for example in my case it is “mycitrix715lab”.
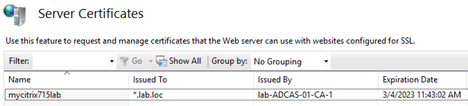
The newly created server certificate should be created and displayed in the “Server Certificates” window.
Section 2: Steps to Export Certificate from the StoreFront Server
To configures SSL protocol for other StoreFront Servers and ADC in the environment, the newly created Server Certificate from previous steps need to be exported.
- Launch MMC
2. Select “File – Add/Remove Snap-in”
3. Double-click “Certificates”
4. Select “Computer Account”
5. Select the “Finish” button to complete the “Add/Remove” dialogs
6. Navigate to Personal –> Certificates. The newly created wildcard certificate should be visible. Right click and select “All Task” -> “Export” option.
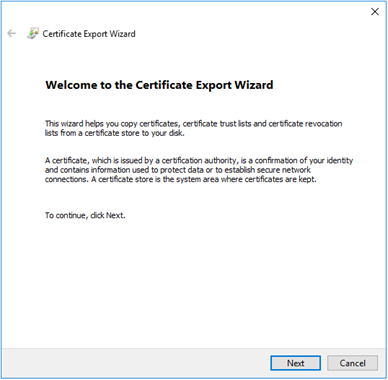
The “Welcome to the Certificate Export Wizard” screen displayed. Select the “Next” button to continue.
The “Export Private Key” screen displayed, select the “No, do not export the private key” option. Select the “Next” button to continue.
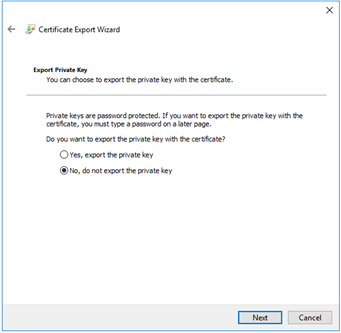
The “Export Private Key” screen displayed, select the “No, do not export the private key” option. Select the “Next” button to continue.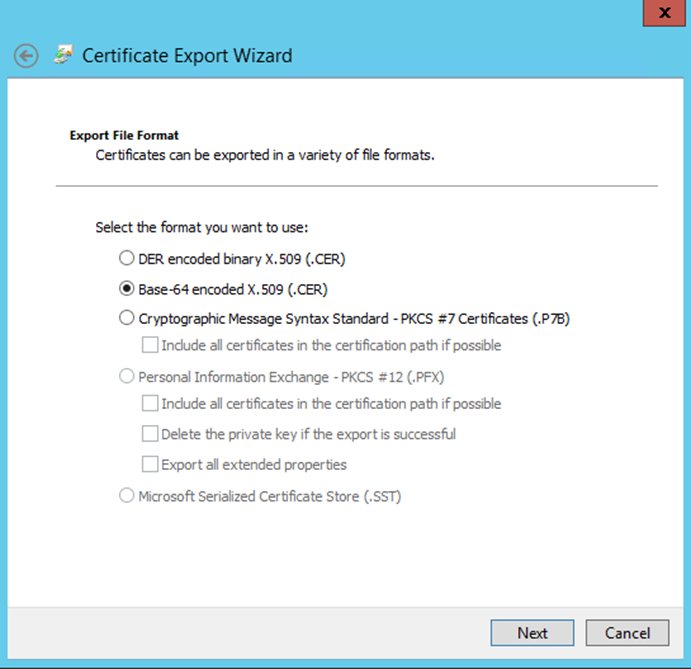
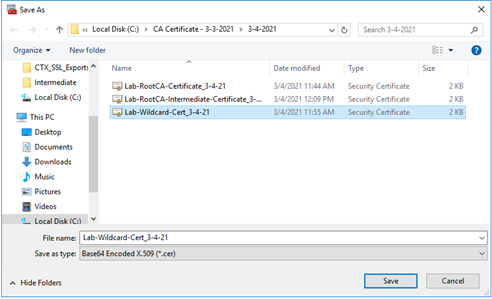
Provide the certificate with an applicable file name. For example, “Lab-Wildcard-Cert_3-4-21.cer” and select the “Save” button to continue.
Section 3: Steps to Export the certificate with associated Private Key
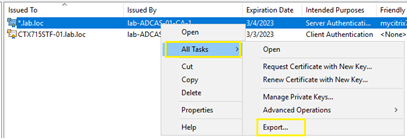
From the MMC console, navigate to “Personal -> Certificates”, select the previously created Server Certificate for example, “*.lab.loc”. Right Click -> “All Task” and “Export”.
The “Welcome to the Certificate Export Wizard” screen displayed. Select the “Next” button to continue.
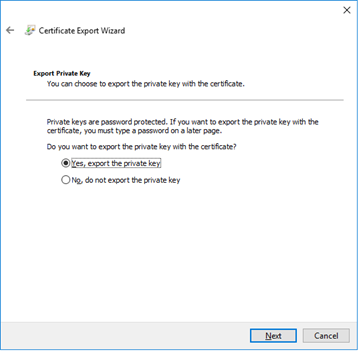
The “Export Private Key” screen displayed. Select the “Yes, export the private key” option. Select the “Next” button to continue.
The “Export File Format” screen displayed. Select the following options:
Personal Information Exchange PKCS #12 (.PFX)
Include all certificates in the certification path if possible
Export all extended properties
Select the “Next” button to continue.
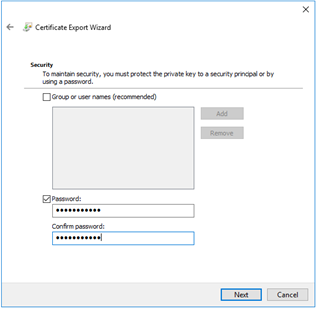
The “Security” screen displayed. Add a password to the key file and select the “Next” button to continue.
Provide the certificate with a file name. For example, “Lab-Wildcard-Cert-Key_3-4-21.cer” and select the “Save” button to continue.
![]()
Section 4: Steps to Export Internal Microsoft Root CA Certificate to allow corporate devices with trust relationship with the certificates from the Private CA previously exported.
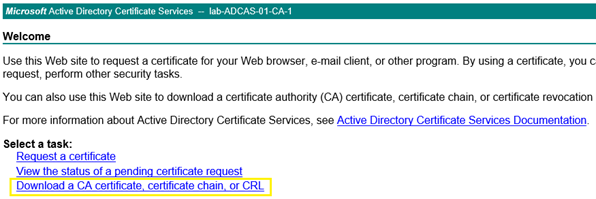
Open a browser as an Administrator and navigate to http://10.1.X.X/certsrv. (This is the IP Address of the Domain Controller running Certification Authority Services or a standalone MSCA Server).
Select “Download a CA Certificate, certificate chain, or CRL”
The “Download a CA Certificate, Certificate Chain, or CRL” screen displayed. Select the appropriate CA Server for the environment. Under the “Encoding Method” option, select “Base 64”.
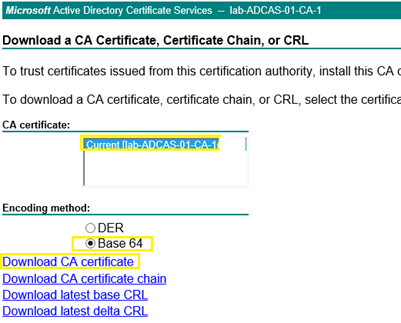
Select the “Download CA Certificate” Once the download completed, rename the Certificate to reflect the environment, in my case, it is “Lab-RootCA-Certificate_3-4-21” for ease of identification.
![]()
Section 5: Steps to Install Root CA Certificates on the remaining Storefront Server
On the Storefront server, double click on the “Lab-RootCA-Certificate_3-4-21.cer” previously exported to start the installation process.
![]()
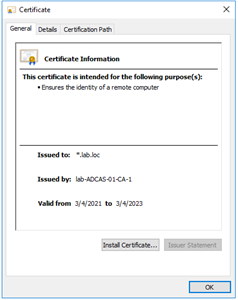
The “Certificate Information” screen displayed, select the “Install Certificate”
Select “Local Machine”
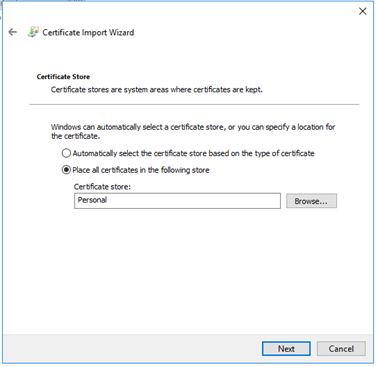
Select “Place all certificates in the following store” and select “Trusted Root Certification Authorities”
The Root CA is now installed on the host.
Section 6: Steps to Install Servers Wildcard Certificates on the remaining Storefront Server
On the Storefront server, double-click on the “Lab-Wildcard-Cert_3-4-21.pfx” certificate file to start to process.
The “Certificate Information” screen displayed, select the “Install Certificate”
Select “Local Machine”. Select the “Next” button to continue. 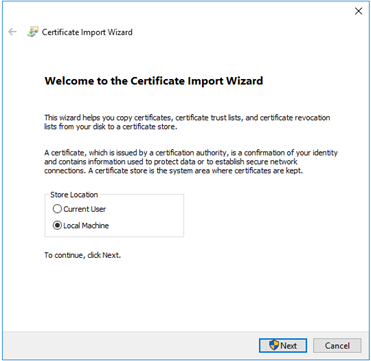
Enter the certificate’s password previously created.
In the “Certificate Store” options, select “Personal” or “Web Hosting” to install the Certificate.
Section 7: Steps to Install the key Certificate on Citrix ADC (NetScaler)
Access Citrix ADC (NetScaler) login page using the IP Address or DNS name record where applicable. In my case, it is http://10.1.x.x.
Navigate to Traffic Management -> SSL
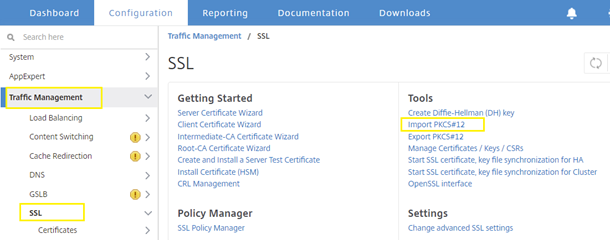
Select “Import PKCS#12”
Output File Name: “Lab-Wildcard-Cert-key”
b. Choose File: “Lab-Wildcard-Cert-Key_3-4-21.pfx”. This is the local certificate previously exported with the private key.
c. Input Password: Enter the secure password previously exported.
d. Encoding Format: “3DES”
f. PEM Passphrase: Enter a secure password where applicable.
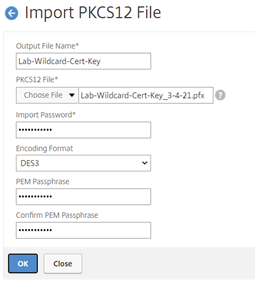
Select the “OK” button to complete import process.
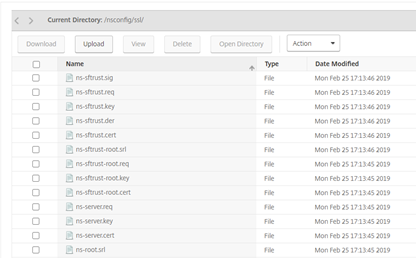
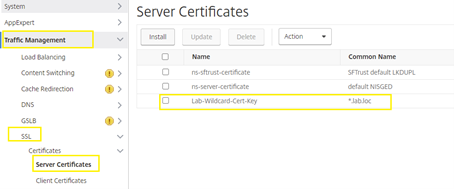
Sample View from Citrix ADC after successfully Imported the PKC12 Certificate:
Section 8: Step to upload applicable certificates to Citrix ADC
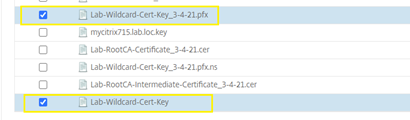
In the “Traffic Management” -> “SSL” section, select “Manage Certificates / Keys / CSRs“
Select “Upload”
Select “Lab-Wildcard-Cert.cer”
Select “Upload” again to load the Root CA
Select “Lab-RootCA-Cert_3-4-21.cer”
Optionally, select “Lab-Wildcard-Cert-Key_3-4-21.pfx” and “Delete”.
Steps to install Server Certificates
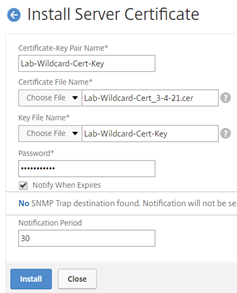
Navigate to “Traffic Management” –> “SSL” –> “Certificates” –> “Server Certificates” and select the “Install” button to continue.
Select applicable Certificates for the environment.
Certificate-Key Pair Name: Lab-Wildcard-Cert-Key
Certificate File Name: Lab-Wildcard-Cert_3-4-21.cer
Select the Key File Name Previously Created: Lab-Wildcard-Cert-Key.Key
Password: Enter the PEM passphrase. Note: Use any passphrase key where applicable to the environment. In my case, I used the same password when exported the Certificates from previous steps.
Section 9: Steps to install MSCA Root Certificate
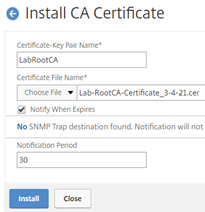
Navigate to “Traffic Management” –> “SSL” –> “Certificates” –> “CA Certificates” and select the “Install” button to continue.
Select applicable Certificates for the environment.
Certificate-Key Pair Name: “LabRootCA”
Certificate File Name: “Lab-RootCA-Certificate_3-4-21.cer” and select the “Install” button to complete the process.
Section 10: Steps to link the “Server Certificate” to the “RootCA”
Navigate to “Traffic Management” –> “SSL” –> “Server Certificates” and select appliable Server Certificate for the environment. In my case, it is “Lab-Wildcard-Cert-Key”. Under the “Action” drop down list, select “Link” to continue.
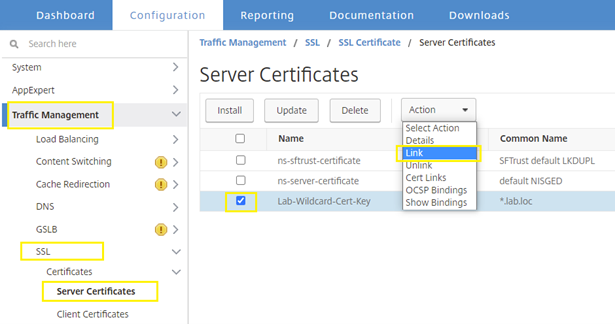
The “Link Server Certificate(s)” window displayed, under the “CA Certificate Name” option, select applicable Root CA certificate for the environment.
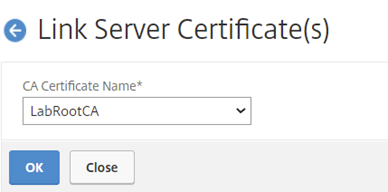
MSCA Server/Root Certificates needed for Storefront Servers and Citrix ADC Secure Access Gateway protocol configurations completed.