A closer look at Dell PowerProtect Data Manager (Part 2)
Continuing on our journey of deploying PPDM (if you haven't already, check out part 1 of this blog), we will prepare and integrate Data Domain with PPDM...
- Log into the DD System Manager interface. Under Protocols, browse to DD Boost. Make sure that DD Boost Status is enabled:
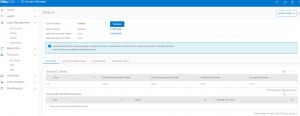
2. If you are enabling DDboost for the first time (usually after a fresh DD install), you'll need to create a DDboost user, which PPDM will use for authenticating to Data Domain:
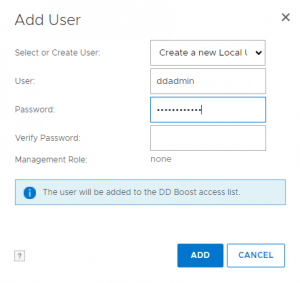
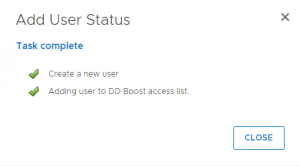
Click Add, and the user will be created:
The user you just created should be listed under Users with DD Boost Access:
![]()
3. Since we are unable to designate a role while creating a DDboost user, we need to manually apply that role to the user account so that PPDM can properly interact with the DD. SSH into the Data Domain and run this command:
user change role user_name admin
Since the name of my DDboost user is "ddadmin", the command I ran looked like this:
user change role ddadmin admin
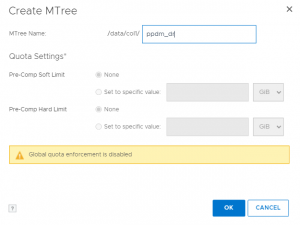
4. Next, we'll need to create a new mtree for PPDM to use for its DR backups.
5. The final step to complete in DD System Manager is to setup an NFS export that exposes the mtree we just created:
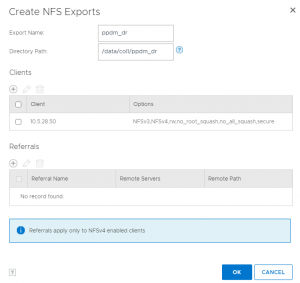
You also need to add the IP address of PPDM as a client and ensure that it has the no_root_squash option set.
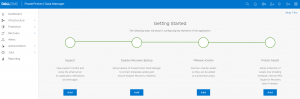
6. Now we are ready to proceed with logging PPDM and completing the initial configuration. Using the password previously configured (step 9 in part 1 of this blog), login as "admin", which will take you to this page:
7. We'll setup the DR backup, putting in the DD System IP address and NFS Export Path:
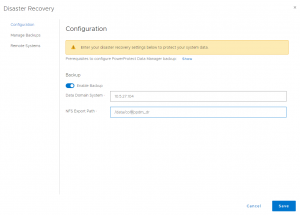
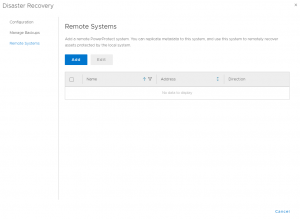
PPDM's approach to disaster recover is noticeably different from other Dell backup products such as Avamar or NetWorker. There is no "DR PPDM" instance to replicate to. It simply backs up its internal configuration to the NFS export. This can optionally be replicated to a second PPDM instance for "Quick Recovery":
8. Now we'll add the Data Domain storage to be used by PPDM for client backups. This doesn't create or reference any particular mtrees - you'll be prompted for that once you setup Protection Policies.
Browse to Infrastructure -> Storage, then click Add. You'll need to input the FQDN or IP address, along with host credentials (this should be a ddboost user like the one created earlier). After verifying the certificate, the DD storage should be displayed:

You can add more Data Domains if you have them. In the next blog, we'll check out the PPDM interface more thoroughly and configure a backup job.