Windows Bare Metal Recovery with Cohesity
Bare metal recovery is one of those things you hope you never have to do, but you certainly want to be prepared in case the situation arises. These days, most data centers are primarily comprised of virtual machines, so it's pretty easy to protect and restore data at the image level. However, many organizations continue to maintain a diminishing yet business-critical footprint of physical servers.
Mitigating the risk of hardware or site failure is a bit more challenging here. This is where Cristie Software comes in. They offer a standalone tool for facilitating bare metal backups and restores. Cristie also integrates with several data protection products, including IBM Spectrum Protect, Dell EMC Avamar, and SysBack for AIX. In this article, we will focus on Cristie's integration with Cohesity. They offer an agent called "CoBMR" (which is entirely separate from the traditional CBMR software) that communicates with and restores from the Cohesity cluster directly.
If you're already using Cohesity, you probably already know how easy it is to create policies and jobs for various types of sources (hypervisors, physical servers, databases, etc.) It's a flexible and scalable solution that is easy to use. Cristie is licensed separately, but they do offer trials on most of their software.
Let's get straight into the first part of the implementation, which is installing the Cohesity agent on Windows...
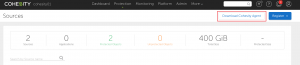
1)In the main console, browse to Protection -> Sources. Here, you'll see options to either register a new source or download the agent. We want to download the agent and run it on the physical server(s) we wish to protect.
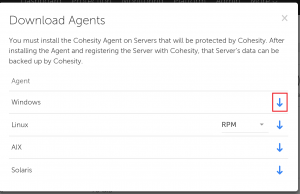
2) Click on the download icon to pull down the agent
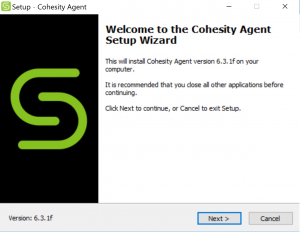
3) Once the agent package has been saved on the Windows client, launch the installation and click Next.
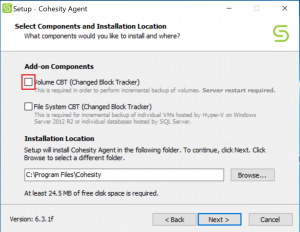
4) The Volume CBT box is usually checked by default...we'll want to deselect this as a prerequisite for the Cristie software, although change block tracking is useful under normal circumstances. Verify the installation path and then click Next.
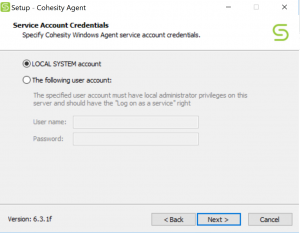
5) The Cohesity service will run using the local SYSTEM account.
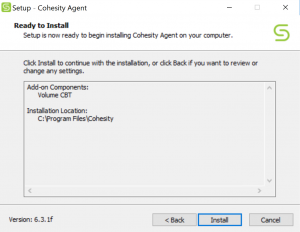
6)Click Install to begin the agent deployment.
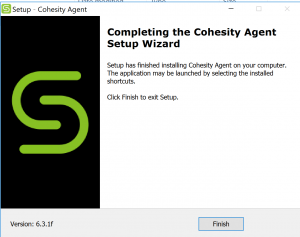
7) Once completed, click Finish
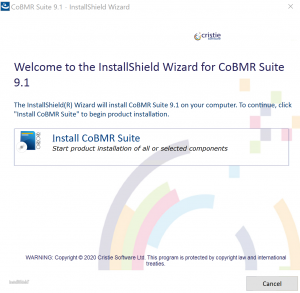
The second phase of BMR prep is to install the CoBMR agent provided by Cristie. CoBMR is specifically built to provide seamless integration with Cohesity clusters. It should be installed on the Windows server AFTER the Cohesity agent has been deployed.
1)After downloading the CoBMR agent for Windows, launch it and click on "Install CoBMR Suite".
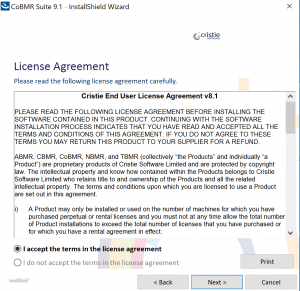
2)Accept the license and click Next.
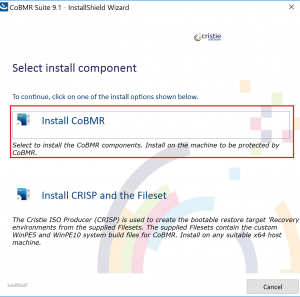
3) Install CoBMR
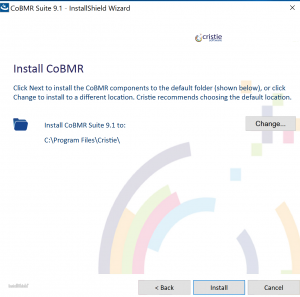
4) CoBMR should be installed to default location. Click Install.
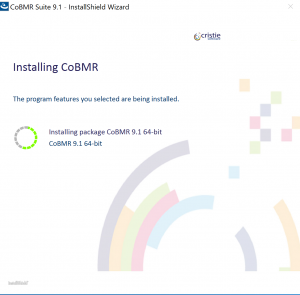
5) Monitor progress of the installation
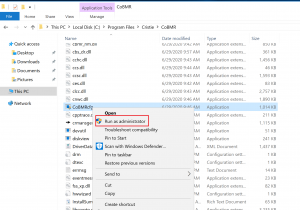
6) Once the installation completes, browse to the installation directory. You will need to run CoBMRcfg as Administrator prior to running a BMR job in Cohesity.
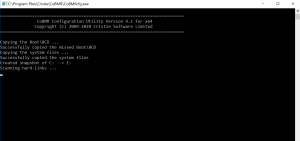
7) A command prompt window will appear while the volumes are being prepared. This will disappear automatically when finished.
The third leg of this process involves registering the Windows client as a source on the Cohesity cluster, and setting up a protection job for it.
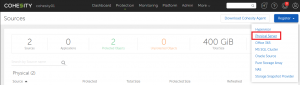
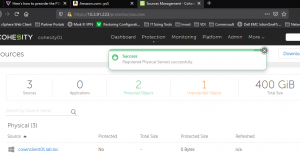
1)On the cluster, browse to Protection -> Sources. Click the Register button and select Physical Server.
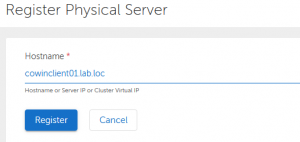
2) Enter the hostname or IP address of the Windows client the agents were just deployed to, then click Register.
3)You will see a Success message once the source has been registered.
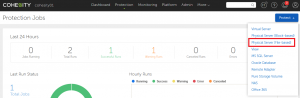
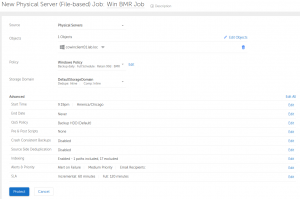
4) From the main dashboard (or from Protection -> Protection Jobs), click on the Protect button. Select Physical Server (File-based).
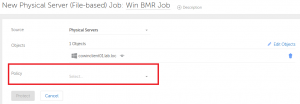
5) Create a name for the new Protection Job, and select the objects (previously registered source). Under the drop down menu for Policy, select New Policy.
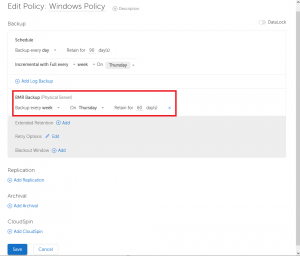
6)Ensure that BMR Backup is scheduled for the policy:
7) Review all of the job settings, then click Protect.
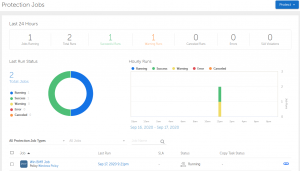
8) Job will run - monitor the dashboard and ensure it completes successfully.
The 4th and final stage of BMR is the actual recovery. For this, we will boot from the "PE10" recovery ISO for CoBMR supplied by Cristie.
1)Boot the replacement server hardware using the recovery ISO, which will load and take you to the main CoBMR screen.

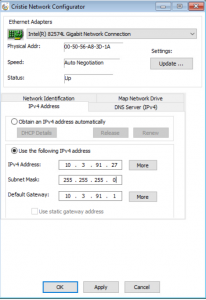
2)Click on Configure Network. Keep in mind that the settings configured here are not permanent to the eventual recovery - we are just establishing network connectivity so we can communicate with the Cohesity cluster later.
There are a few tabs on this screen. Starting with IPv4 Address, enter the settings applicable to your network, then click Apply.
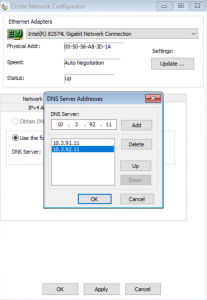
3) Next, you want to click on the DNS Server tab and add your DNS info.
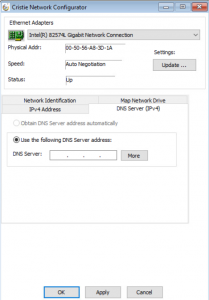
Click the "More" button to add multiple DNS server addresses.
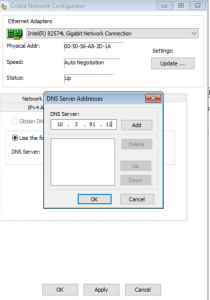
Click on "Add" for each additional DNS server. You can also click the Up/Down buttons to change the order in which the servers are queried. Click OK when finished.
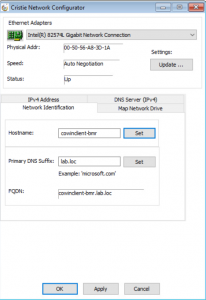
4) Back on the Network Config window, click the Network Identification tab and specify the hostname and DNS suffix to be used. Click Set button on each field, then click Apply.
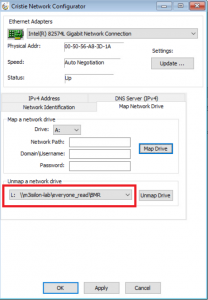
5) The final part of the network configuration consists of setting up a network drive mapping. This is optional, and you only need to do this if you want the recovery logs to be saved to a network location.
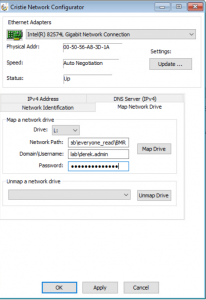
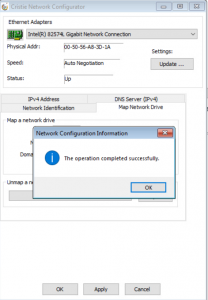
Once you've entered the network path and credentials, click Apply. You should see a confirmation message:
You'll see the newly mapped drive at the bottom. If you need to make any changes to the settings, you will need to click Unmap Drive and then reconfigure.
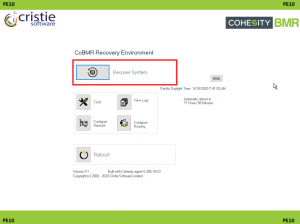
6)Click OK to go back to the main menu. Click the Recover System button to start the BMR process.
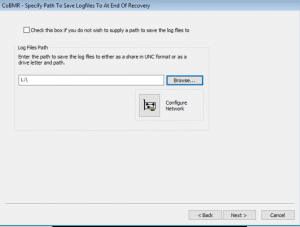
7)Select a location to save the logs, if desired. You can browse and select the previously mapped drive. If you don't want to save the logs, select the box at the top of the window:
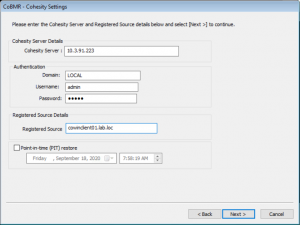
8)Click Next and enter info for the Cohesity cluster - hostname/IP address and login credentials. Also, specify the registered source client you wish to restore from.
Check "Point-in-time (PIT) restore" to select a restore point from a particular date & time; otherwise, leaving this option deselected will cause the restore to default to the most recent available restore point.
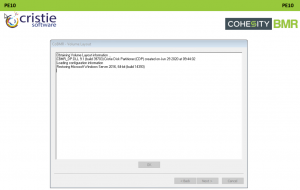
9)Click Next. The recovery process will begin.

Progress will continue as it checks the volume layout...
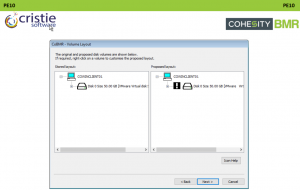
10)The Volume Layout screen is displayed. You can stick with the original settings or customize the layout.
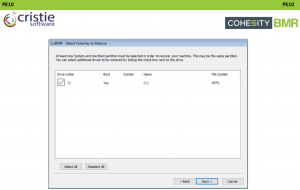
11)Select volume(s) to be restored, then click Next.
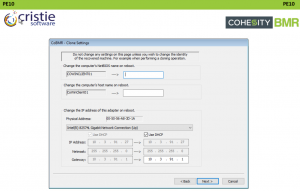
12) On the Clone Settings screen, you can specify a hostname and NetBIOS name that is different from the original server. To keep everything the same, just leave these fields blank. You can also change the IP address upon reboot.
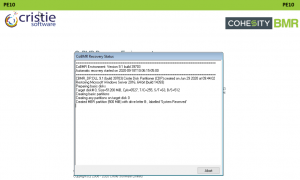
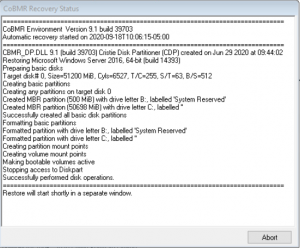
13)Continue to monitor the Recovery Status...
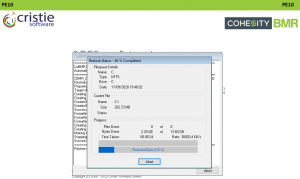
14) The final restore process will kick off in a new window. Once it reaches 100%, you can exit the utility and boot from local disk.
Bare metal recovery can be quite tricky to get right, so YMMV. There may be extra drivers that need to be loaded in order to boot in certain situations. Everything tested was on Cohesity 6.3.1f, which is the latest LTS build as of the time this blog was written. Stay tuned for new feature releases from Cohesity that will make BMR even easier.